Saturday, June 30, 2012

Punched gatefold card

I had seen a card similar to this and decided to use this technique for my special folds club card. Instructions for making this card are included at the end, keep reading!

My first idea was to use the new blossom punch and mixed bunch. I chose pacific point and daffodil delight for my colors, but didn't have any pacific point ribbon, so instead went to Tempting turquoise and daffodil delight (see card below). I do think the pacific point flower stands out better, but it really needed pacific point ribbon even with the button added to the daffodil delight.
So I settled on turquoise and daffodil, and cut all the cardstock and accessories. THEN I realized that I had used the same stamp set and even the same flower from that set for last month's card, so moved to plan B (see below).
 So with all the cardstock and accesories prepped, I needed another idea. I had the set "Easy Events" from convention last year that I hadn't ever used, so decided to try that . I really like the cupcake image and easily chose that. I changed out the punch to the large scallop circle punch.
I used tempting turquoise, daffodil delight, and a touch of melon mambo on the cupcake. The 2 way glue pen and dazzling diamonds glitter really added some bling! I pulled out another set that hadn't seen much love lately "Circle Circus" for the background and on the sentiment, also used it to decorate the envelope. I was quite pleased with the finished card.
To make this card: start with 1/2 sheet of cardstock 5 1/2 x 8 1/2. Score at 2 1/8 and fold in then instead of scoring the other side, just fold in to the center and use bone folder to get a good fold.
I tried several ways of punching before I found the winning way to use the punch. Slide the folded front of the card into the bottom narrow side of the punch. I had a bit of trouble getting the edge to go all the way in (it caught on the scallops) so I used a strip of cardstock between the punch and the card to allow it to slide in all the way then remove the strip of cardstock before I punched. Clear as mud? ask for more info. You can lay the punch on the table to punch, but need to hold the edges of the card together to punch evenly. Slide the strip of cardstock in again to easily remove the card from the punch. I may do a picture tutorial for this if you need it, let me know.

Saturday, June 23, 2012

Limited supply cards made while on vacation

We went to Arizona for 12 days the beginning of June and I took some stamping supplies, hoping to add to my card stash for missionaries who visit our church. I took several punches, a couple of ribbons, 2 packages of designer paper (both retired now) with cardstock and ink to match. I also took 3 stamp sets ( For all you do, Language of friendship, and Upsy daisy) and one set of words (Fabulous phrases). I forgot to take dimensionals or brads, and didn't have my bigshot (no room in my suitcase). As it was, my suitcase in Des Moines was searched due to all the metal from the punches and I got to be hand/wand searched. I used lots of scraps of designer paper and cardstock.

This uses the hostess package of paper from last catalog, limeade ribbon from Sale-A-bration (hereafter SAB) and "For all you do" stamp set that is retired now.
Another card with the same paper and colors with butterflies that I had precut in my stash.
These 3 cards use the same layout and the designer paper from SAB. I also had the leaves in my stash that had been run through the square lattice embossing folder
These 3 cards all use "Upsy Daisy" which is also retired, each one uses a different package of designer paper. I took well worn, but no masculine stamps so this is the only card I made with that.
These 2 cards use the bird punch and "Language of Friendship" that is current.
This card is a CASE from the 2010 catalog and uses "For all you do" and SAB designer paper. 
Two cards using bashful blue and "For all you do". I added a precut large butterfly from my stash
I again used "For all you do" and SAB designer paper
This is a Z fold card and uses small pieces of paper with the postage stamp punch.

Special offer for Hostesses in June and July

For any workshop (party) held in June or July, Stampin'Up! is giving an additional $50 in hostess benefits when the total sales are $450 or greater. That's $115 free with $450 in sales!! FREE bigshot + $15 WOW! See flyer on the right side of my blog under my info.

Granddaughters and notebooks

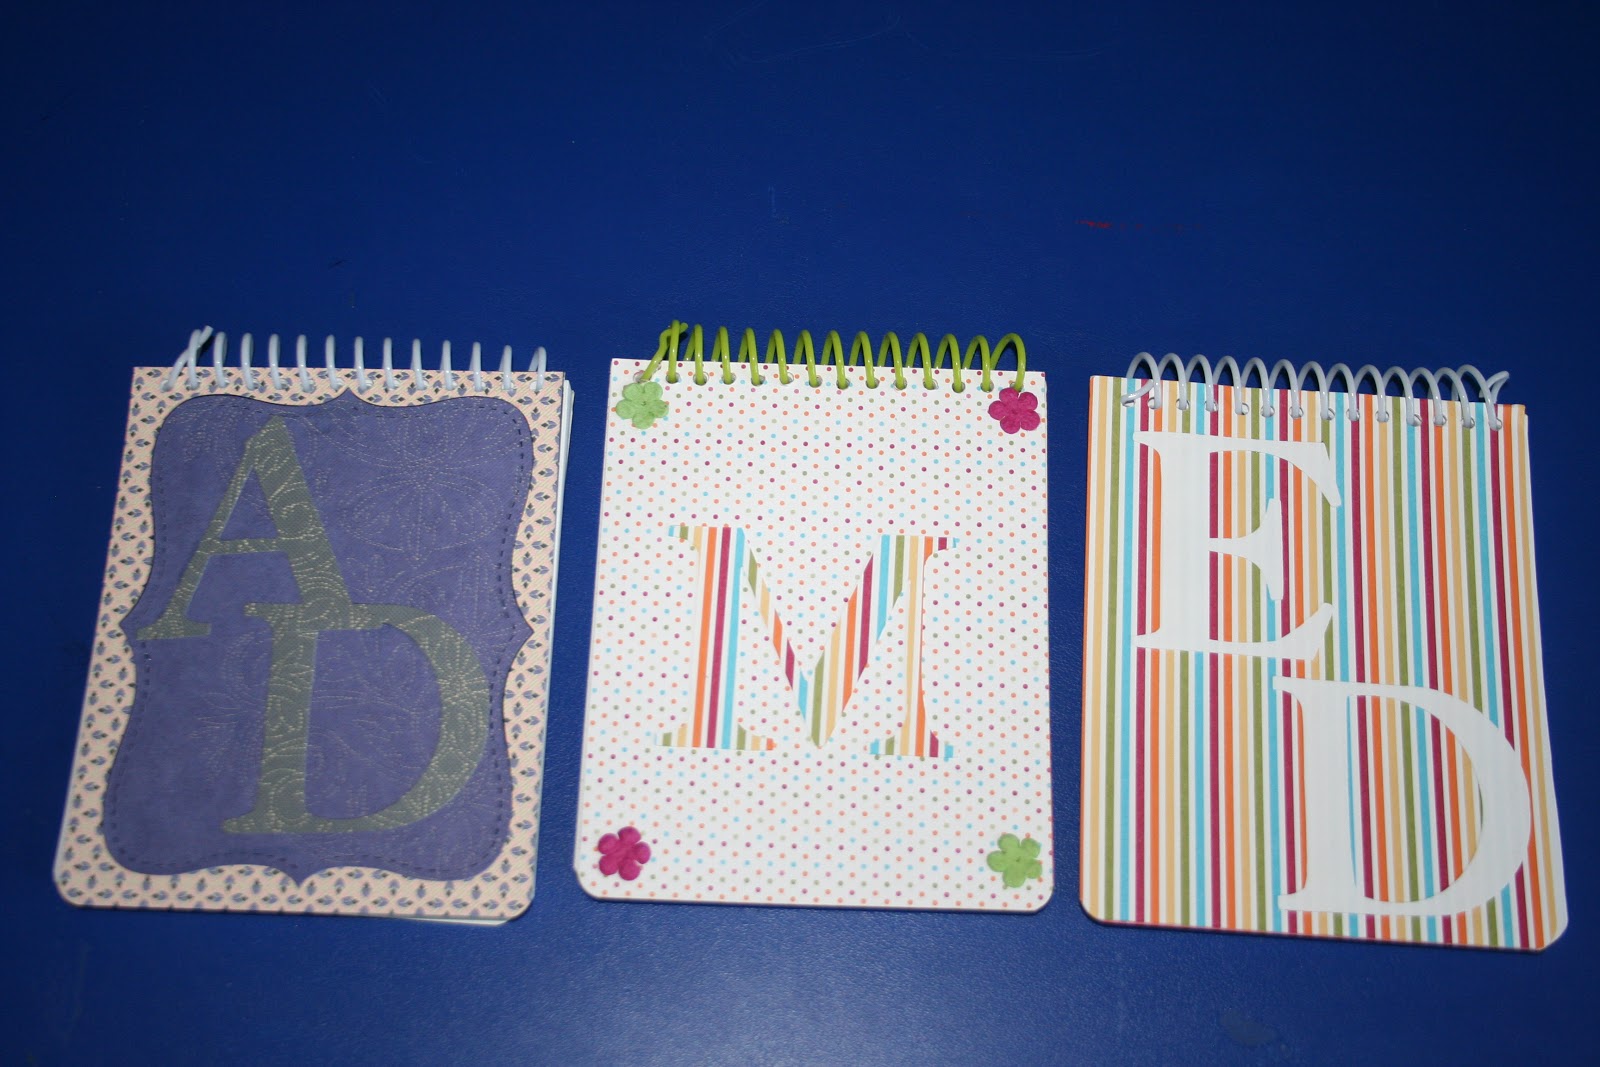
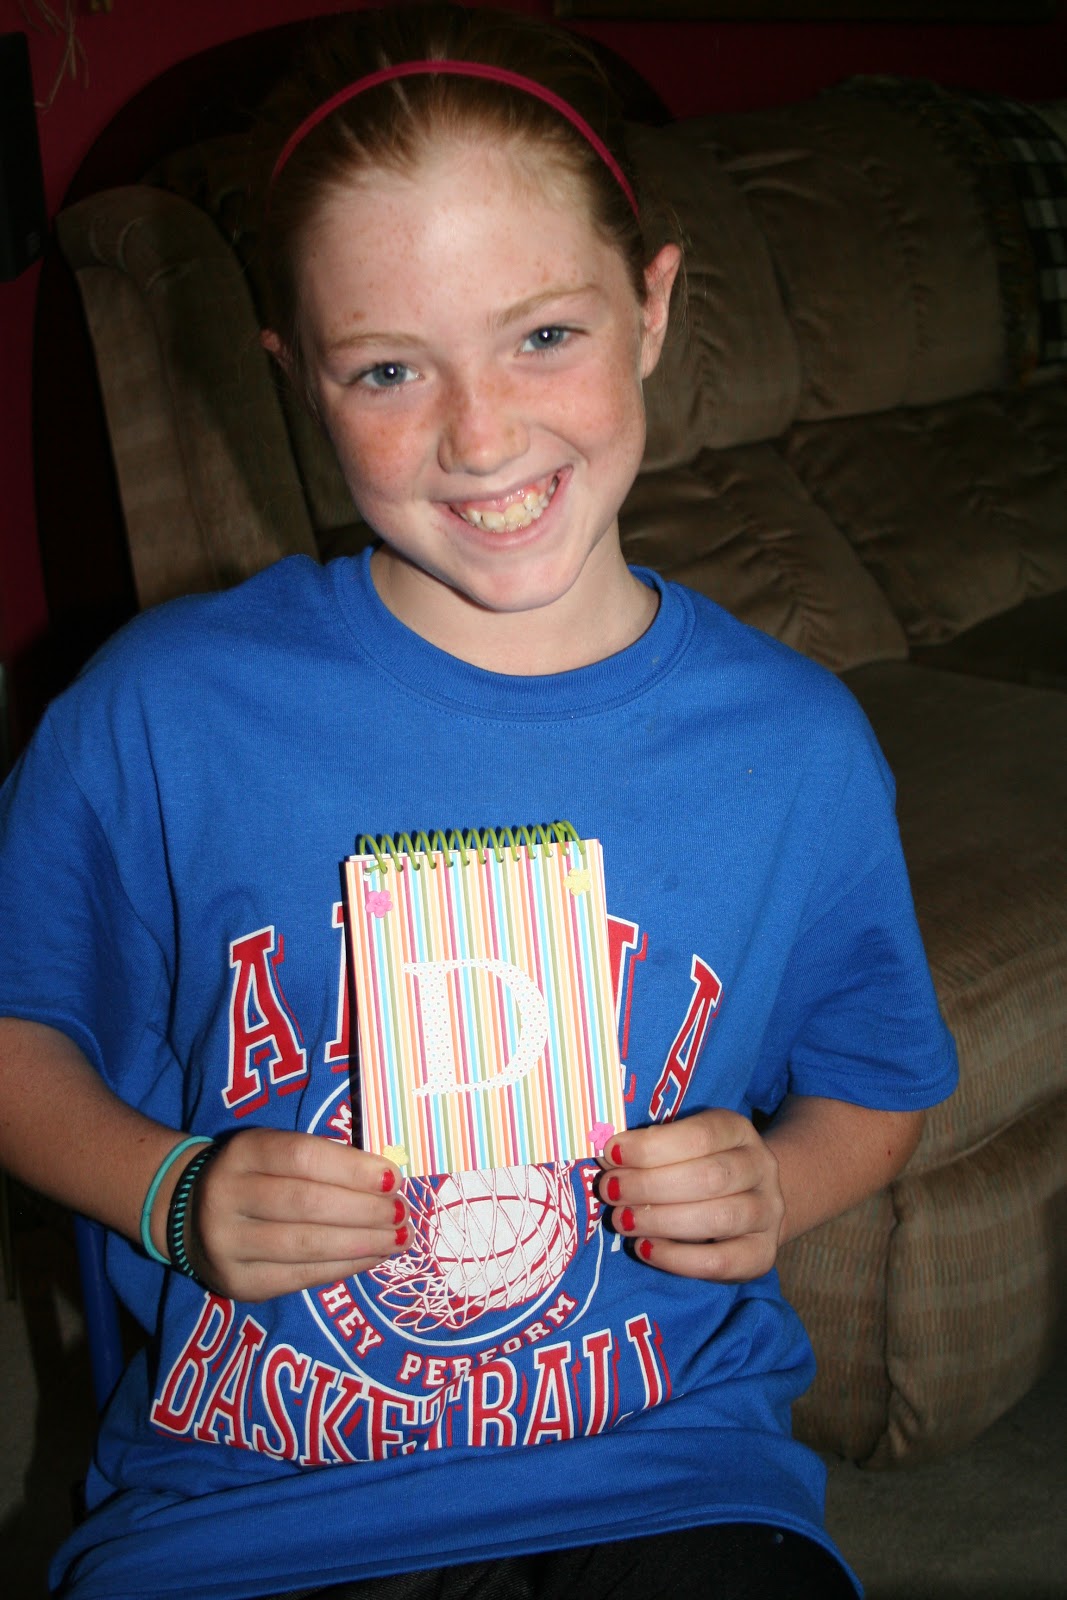
I had let my oldest granddaughter make a covered notebook one time and the youger girls asked to make some also. I had recenly been to Target $ spot and found some notebooks 70% off, so I pulled those out and some of my retired designer paper and let them have at it! Then I used my bigshot and alphabet dies to cut out their initials.
 The finished projects
 Abi with the front of hers
 The back of Abi's
Mady with the font of hers
 The back of Mady's
Emmy's notebook, the back of hers is the same.

Club challenge

I challenged my club ladies to make a card CASEing the cards that I had made and posted from when I was in Nashville. Jackie also brought a card and I thought I took pictures of them all, but don't have a picture of hers. SO sorry Jackie!!
 This card was made by Marlene
Lynn made this card

Thursday, May 24, 2012

More 2011 convention swaps

Love this whimsical
use of the owl punch and embedded technique!

 All the rest of these samples are made using stamp sets that are retiring.


Wednesday, May 23, 2012

Extreme elements graduation card AND new ink pads

I have had this set, but have rarely used it and now it is retiring. I needed 8 graduation cards in a hurry, so I used this set with the new 2012-14 In Colors: Summer Starfruit, Midnight Muse, Gumball Green, and Raspberry Ripple. I used "go confidently in the direction of your dreams" from "Word Play" inside. For the girls, I added another swirl in Primrose Petals and used retired pomegranate cardstock for the base.

I got the new firm foam stamp pads in the new colors also the newly formulated black ink pad. They are juicy and don't bow in the middle for more even coverage. All ink will be the new pads as of June 1st.

Recent club cards

Here are the cards we have made in April and May. Click on any of them to enlarge for details.

 This is the double dutch fold technique. Directions/measurements for this card: Cut cs in half lengthwise 11x 4 1/8or 4 3/16 (slightly narrower than 4 1/4), fold in half at 5 1/2". Normally you could cut 2" off the bottom all the way across before cutting in half, but with the card we are making, I'm using the new edgelits dies to make a special edge. Add a 2x8 1/2 piece across the bottom, glueing from the back and fold edges around to the front to form "dutch doors". It will be clearer when you see/make the card. 
The stamp set Bordering on Romance and the framelits and edgelits from the Occasions mini are in the new catalog if you missed them. They also kept the twitterpated DSP even though it has a couple of retiring in colors. :)

 Everyone that came to club Sat got a pattern to make their own cup, but basic measurements are 3 1/2 x 10" folded to make 3 1/2 x 5", then cut sides and round bottom. I made the pattern by tracing an actual cup then fine tuning it. The top is 1 x 4" with 5/16" trimmed and layered. The lipstick is SWAK single stamp that is retiring soon. DSP is mocha morning (how apt is that name) that is also retiring. I changed the layers around and used garden green for the back "four frames" piece and cherry cobbler for the front "oval all" scallop. It popped a bit more that way. A layer of crimped crumb cake and espresso bakers twine was the finishing touch.
This was the inspriation for my starbucks card, made by my sister Joyce. But the DSP is from SAB and is retired, so I used Mocha Morning. Hers is smaller and fits in a notecard envelope.

This stamp set and wheel made it into the new catalog. It is such a fun wedding set that also includes a cake and sentiments. The wide striped ribbon and blushing bride cardstock is retiring as is the pinking hearts border punch :(
I love this new set that was in the Occasions mini and is also in the new catalog-Mixed Bunch. I was less than thrilled with it when it was in the mini, but saw many great ideas for it's use, so decided to get it. The coordinating punch is a perfect pair.


This is a card that my sister Joyce made at a workshop recently. She let us make one in Nashville. It is a joy fold and uses emboss resist technique for the flower on the card and rock and roll on the envelope.

Making up for lost time

I have been sooooooo busy helping my granddaughter achieve her goal to finance her Poeple to People Student Ambassador trip to Europe that I haven't had much time for things that I love. She made it by the way, the trip is paid for and she leaves Sun 6/10 for 19 fun filled days! But she still owes about $750 to her other grandparents, so she and I have one more weekend to work. Garage sale Sat morning, HyVee coupon book sales in the neighborhood Sat afternoon, and Papa Murphy's fundraiser cards Sat evening. Then she/they are on their own for the rest. She and I personally have raised $3643, over half of her amount needed.

Now on to stamping! I made quite a few cards when I was in Nashville last month on a family of origin trip. I spent a week with my 2 sisters and parents. We had a ball catching up with each other and spent a lot of time crafting. Many of these cards were "CASED" from my sister Joyce, but she "CASED" most of them first. Most use dsp in some way, trying to use some of my stash.
This cupcake was originally a stamp in a previous years catalog. My sister Joyce traced it and made a pattern to make this larger than life cupcake. The inside sentiment "happy birthday with a cherry on top!" from "A word for you" stampset gave me the idea to add the cherry. Before I gave this card to a friend, but after I photographed it, I made the cherry bigger.
Uses DSP and several punches that I presume most of you have for a quick easy card. Choose your clors from the DSP colors, no wondering what goes together.
I had this piece of cardstock that I had scored at 4 1/8 instead of 4 1/4, so I then scored the whole front instead of wasting it. Use your circle punches and any dsp, then add hearts, butterflies, and/or flowers for a fun easy card!
I love the blossom petals builder punch and any dsp to make a quick card that is stunning. Boho blossoms punch for the center adds the finishing touch.
Made with well worn DSP and uses "build a blossom" and the coordinating blossom petals punch for the flames. I added iridescent ice embossing powder as well.Wish big is from "word play".
Both of the cards, above and below, use the houndstooth embossing folder. It really makes a nice masculine card and works well to sponge after embossing. How easy is the circles card!! It uses circles #2 die and well worn DSP that is retiring soon.
This uses retired cottage wall DSP, one of my favorites, and boho blossoms punch with the butterfly embosslit.
"Vintage vogue" stampset was a choice from SAB, but you could use this idea with other stamps as well and any embossing folder. Love the monochromatic look.
These last two use the fancy flower punch. Above I also used the 5 petal punch which is retiring as is the triple treat flower stamp.
For this one, I embossed with the square lattice folder then crumpled the cardstock until I could separate the layers to make 2 flowers from one punch. I used 4 layers, 2 punched flowers, for this fun card and added leaves from the bird builder punch and the white flower is from boho blossoms.

Tuesday, May 8, 2012

$99 Starter Kit ! WOW


Stampin' Up! is now offering a new, customizable Starter Kit at the low price of $99!
If you have ever considered joining , NOW is the perfect time to do so!

YOUR WAY: When you purchase the kit, you can choose up to $125 of ANY current Stampin' Up! products. You'll also receive a business supplies pack valued at $65.
The total value of the kit is $190 and it ships for FREE!

This is a fabulous deal, whether you are a hobby stamper or want to be a business demonstrator!
In addition to selecting the Starter Kit YOUR WAY with your favorite Stampin' Up! products,
you'll enjoy Stampin' Up! demonstrator discounts and benefits.
STAMPIN’ UP! DEMONSTRATOR BENEFITS:
  • Receive 30% off your first order of $150 or more (or keep it as “instant income” from sales). Redeem in the first 45 days.
  • Get 20% off Stampin’ Up! products or keep as “instant income.”
  • Earn additional income (called a volume rebate) on your monthly product sales of $400 or more. Together, your instant income and volume rebate can reach up to 40% of your personal sales.
  • Pre-order select Stampin’ Up! stamps, tools and embellishments a month (or more) before the customers sales period. One of my favorite perks!
  • Earn free stamps with Stampin’ Start, Sale-A-Bration and other promotions.
  • Qualify for cash bonuses, product bonuses, incentive trips and other awards.
  • Decide to recruit and receive downline override compensation based on your recruits’ sales.
  • Earn free hostess sets and merchandise.
  • Receive Stampin’ Up!’s exclusive monthly demonstrator magazine, Stampin’ Success.
  • Enjoy 2 free months of a personalized Stampin’ Up! on-line store and blog (optional $12.95/mo. after trial).
  • Be inspired by video tutorials and project ideas on the Stampin’ Up! demonstrator web site.
Think about it . . .
great deals, exclusive resources and new stamping friends
with no pressure to sell or hold workshops (but lots of advice and support if you do).
There's no penalty to drop!
Not sure what to select for YOUR KIT? Stampin' UP! has a few suggestions: Click HERE