Saturday, October 12, 2013

Joyful Season

This card is so sparkly, I love it!!!
It is a  case (copy and share everything) of a beautiful card that I saw created by Deb Valder for the Stampin' Up! Founders's Circle retreat.

~ The poinsettia was stamped with black stazon ink onto a  4x4 window sheet.

~ You need to pool about a one inch spot of crystal effects onto a piece of waxed paper and mix in 2 drops of real red (or cherry cobbler) re-inker and then paint onto the poinsettia on the side that was stamped. Use a smaller amount of crystal effects and 1 drop of old olive reinker to paint the leaves.

 ~ Then sprinkle with dazzling diamonds glitter. (the crystal effects paint washes out of the paint brush with soap and water if you do it before it dries). Set aside to dry about 1 hour, then cut out.
 
~ I added gold glitter glue for the berries. I tried adding some ribbon, but the sparkly image is all this card needs!
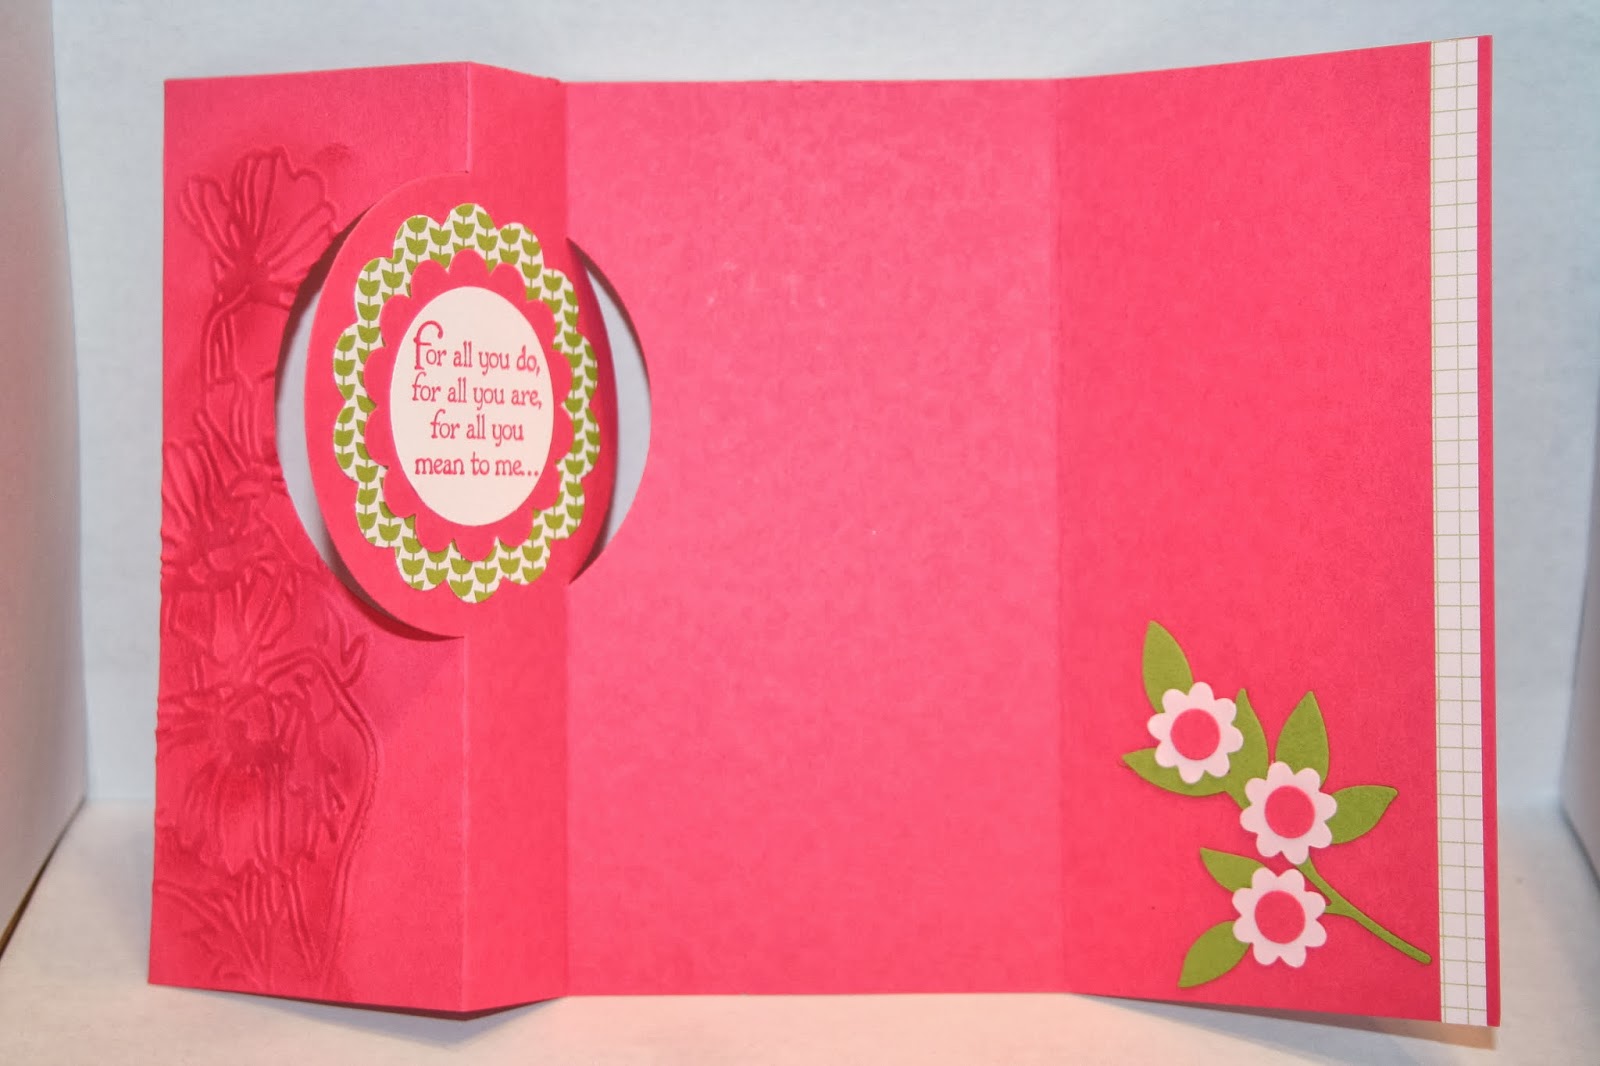
The sentiment is included in the set and there is a nice inside verse as well, all for $16.95 clear mount, $22.95 wood mount!
 This was my "goof card". I thought I was supposed to use vellum, but the color didn't show through as well so I didn't add the glitter. This would be prettier on vellum if you embossed the image first with gold, then color the back with marker. I will try that and add a picture later.

Friday, October 11, 2013

Washi Tape and Pressed Clay flowers

This is similar to a card we made in club this summer. I used an aquapainter to color the flowers then a marker across the ridges for added color. Don't color the bottom of the flowers and use tombow multipurpose liquid glue to adhere to card. Greeting is from Oh Hello stamp set.

Thursday, October 10, 2013

Autumn Accents Bigz Die

I had this card sitting on my desk just needing a focal image and sentiment. The designer paper is retired and has a fall feel, so adding leaves and the acorn from this die was perfect. I sponged the leaves and ran 2 of them through the bigshot with embossing folders. The Artichoke leaf with the Baja Breeze chevrons that mimics the paper was made using the small chevrons from the circle thinlet.

Wednesday, October 9, 2013

Ice cream cone with NEW 2013-2015 In Colors

I made this cone several months ago, but never finished the card. The pretty in pink cardstock and designer paper is retired, but it was sitting on my desk and worked with the in colors. I used a banner from the label thinlet for the sentiment. The cone is Baked Brown Sugar punched with the petite pennants punch and run through the square lattice embossing folder. The ice cream scoops are (from the top down) Pistachio Pudding, Strawberry Slush, Crisp Cantaloupe, and Coastal Cabana.

Tuesday, October 8, 2013

Spooky Halloween shadow box

This is the shadow box insert I came up with for a class. We made a Christmas insert last year and my gals asked for a Halloween one this year. I love the different characters made with the owl punch, so decided to do that. I added a haunted house (thanks Marlene), stamped "forest" with a graveyard, and of course the witch and a full moon. Add a few flying bats and it's a "spooky night". I tried putting the banner inside, but like it much better on the outside. I still need to add a ribbon bow instead of tape. We will be making this Sat afternoon 10/12 and the cost is $20 with the frame. I have 3 frames still available, let me know ASAP if you are interested.

More lattice cards

I used some leftover pieces to make the main image for this card. Instructions for how to make this panel is in a previous post. The colors came from the color coach: Perfect Plum, Marina Mist, and Rose Red.
 I used the same layout with Crisp Cantaloupe leftover pieces. Again I used the color coach to add Pink Pirouette and Soft Suede to the Crisp Cantaloupe. For this card, I chose to use the boho blossoms punch. Sentiment for both is from Sassy Salutations.
 This card is the one we actually made for club last month. I posted 2 others that we combined to make this card, but now have this photo to post. The butterflies and sentiment were stamped in Calypso Coral.
 Inside view with extra lattice piece for popup.

Saturday, October 5, 2013

Lattice die cards

I had seen this idea to use the lattice cutout behind the windows framelits cutout and wanted to try it. The one I saw had vellum behind, but I liked it with the white. The cardstock is crisp cantaloupe and I used calypso coral ink and ribbon. I hand cut the wavy paper for the sentiment. Add a few rhinestone jewels and you have a finished card.
For this next card, I used the negative image and added back the cut out pieces. It isn't hard when you cut a lattice out of lightweight cardboard to lay down as a template and glue each piece back in. Then remove the template and you have your design. I centered the lattice die on the cardstock when I cut it out, but would cut it out higher another time. The bitty butterflies from Papillon Potpouri with pearls in the middle were so eye catching that all it needed was a sentiment at the bottom.
This last piece is the window cutout that I again used the lattice template and glued pieces back in. I then ran it through the Bigshot with the square lattice embossing folder to give it the embedded look. Now I have a piece to make another card. No waste here!

Friday, October 4, 2013

Upcycle your catalogs into gift bags

I saw this idea to upcycle used catalogs into gift bags by Maria Fennelly on the demonstrator website. The spring or holiday catalogs work great, just take out the center staples. It takes a 2 page spread and with some scoring and folding, voila! a gift bag. Add a tag and it's a one of a kind masterpiece! Finished size is 7 1/2 " high by 2" wide and 6" across. I added lightweight cardboard under the folded tops before I punched the holes and added ribbon for some stability, also a piece 2x6" into the bottom.
 Watch this you tube video for directions http://www.youtube.com/watch?v=CLL3DNADG8I


Thursday, October 3, 2013

Two more Circle Thinlet cards

For this card, I used 5 1/2x8 1/2" strawberry slush cardstock. You can put one side through the thinlet to the top instead of under the cutting edge, but I also figured out that you can just put your cutting  plate partway-past the circle area- and it won't cut. Then you have an extra fold. See pics below with card closed, then open.
 I love the little chevrons in this thinlet set. It cuts 3 at a time, so I cut 2 sets in order to have 5 to use. Also included is the thx and hi, see next card, and the scallop circle. Definitely lots of value for the 32.95 cost. The dsp for this card is retired, it was a hostess choice from 2 catalogs ago. Often when I am making my first card or two, I use some retired products in case I mess up. But I like how both of these turned out. I added a little leaf sizzlit and some flowers from the itty bitty shapes punch pack. I used circles from the owl punch for the centers.
This next card is the standard sized thinlet card. Start with cardstock 5 1/2x6 and the thinlet cuts and scores in all the right places! This first picture is the inside. I left the circle plain for a note to be written. The dsp is from last years Holiday catalog paper stack. One side was less "Christmasy".

 I cut the scallop circle and hi at the same time. You can use either the "negative" or cutout image as is done here or the actual cutout as I did with the thx on the above card. For the finishing touch, I added a rhinestone jewel to dot the i.


Wednesday, October 2, 2013

Halloween Hello Label Thinlet card

This card is a variation of the usual size card. For this one, cut your cardstock 4 1/4x7 1/8" then just place your cutting pad just beyond the label cutout and it won't cut your cardstock at the usual 6" point. Now you have a landscape card with final measurements of 4 1/4x5 1/2. I used dsp leftover from last year. The first view is the open view. I used a banner piece from the thinlet for the Halloween hello sentiment. Both the bat and the skull are cutout, the skull is popped up with a dimensional.

The witch on the front of this card is cut with a circle punch because it would be so much work to try to cut her out. All stamped images are from Halloween Hello stamp set from the holiday catalog. See link below to go directly to that page
http://su-media.s3.amazonaws.com/media/catalogs/NA/20130801_Holiday_en-US/index.html#/21/zoomed

Tuesday, October 1, 2013

Halloween treat

It's October, time for some Halloween ideas.
This uses the 1x8" cello bags. Only $2.50 for 50 bags! They can be filled with any small candies, but also with pencils, pixie sticks, or even hot cocoa mix with a funnel. I used black sixlets and orange "pearls" that I got in the bridal section at JoAnn's.
I made the candy corn with the petite pennants punch. I would have sworn the colors were in this order, as would many others that I have seen use the colors the same way, but the candy actually has the yellow at the bottom. Oh well!
Anyway, I added the witch (partially cut out) from Halloween Hello stamp set, but there are also 8 other cute images including one that says "it's all about the candy". Then tie the tag on with some black 1/8" taffeta ribbon. How cute is that???